Update: as of June 1st, 2019, Sarah is in a new commercial space and no longer utilizes the space below.
Houston Newborn and Baby Photographer, Sarah Borchgrevink, uses artificial light in order to create soulful yet natural looking portraits.
Artificial Lighting Tips for a Natural Light Look
Greetings, friends! Thanks for stopping by my blog! I'm really excited you're here because today's post is all about using artificial light. You see, as a Houston Newborn Photographer, one of which specializes in professional baby portraiture, I work with light on a daily basis, but in the beginning of my photography journey, I was really intimidated by studio lighting. I did not understand it or how to work within these perimeters. However, have no fear! I am excited to talk to you about the type of lighting I use, how I set it up, the camera settings and gear you'll find, and why artificial light is truly special.
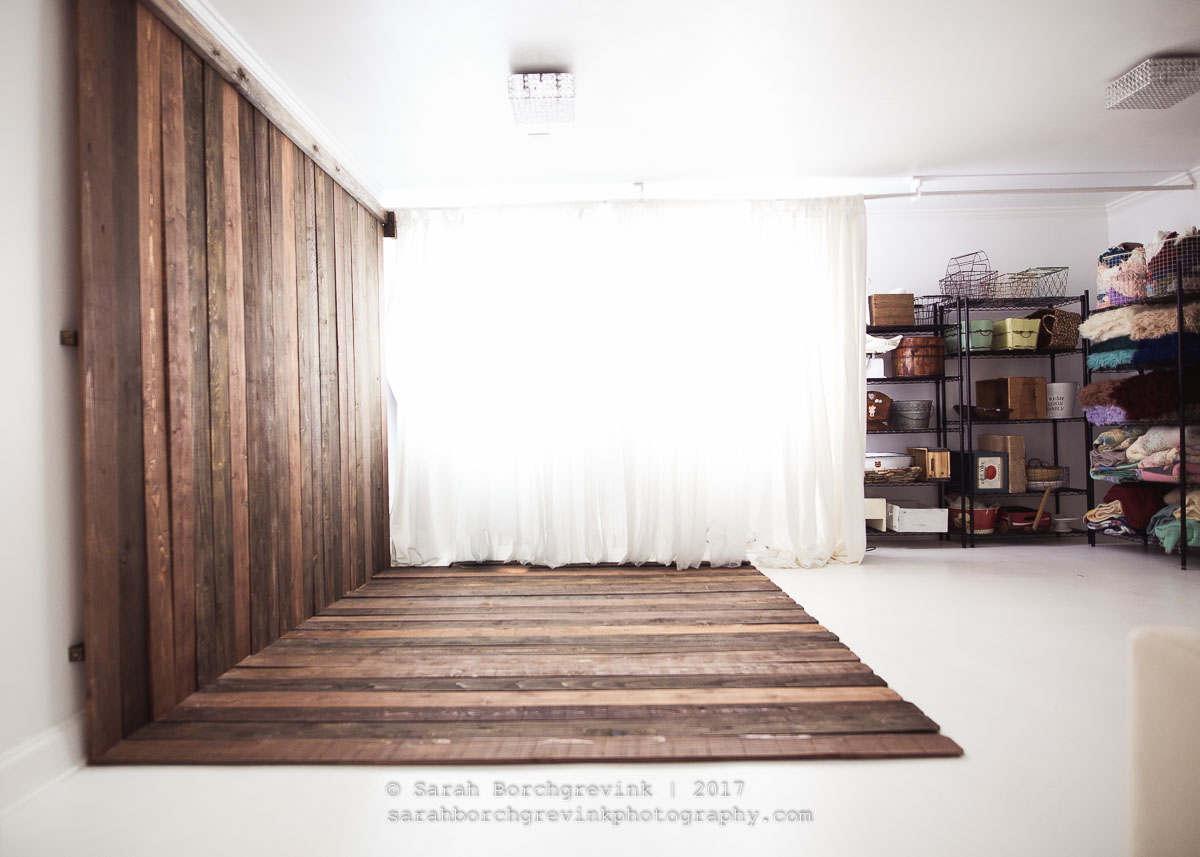
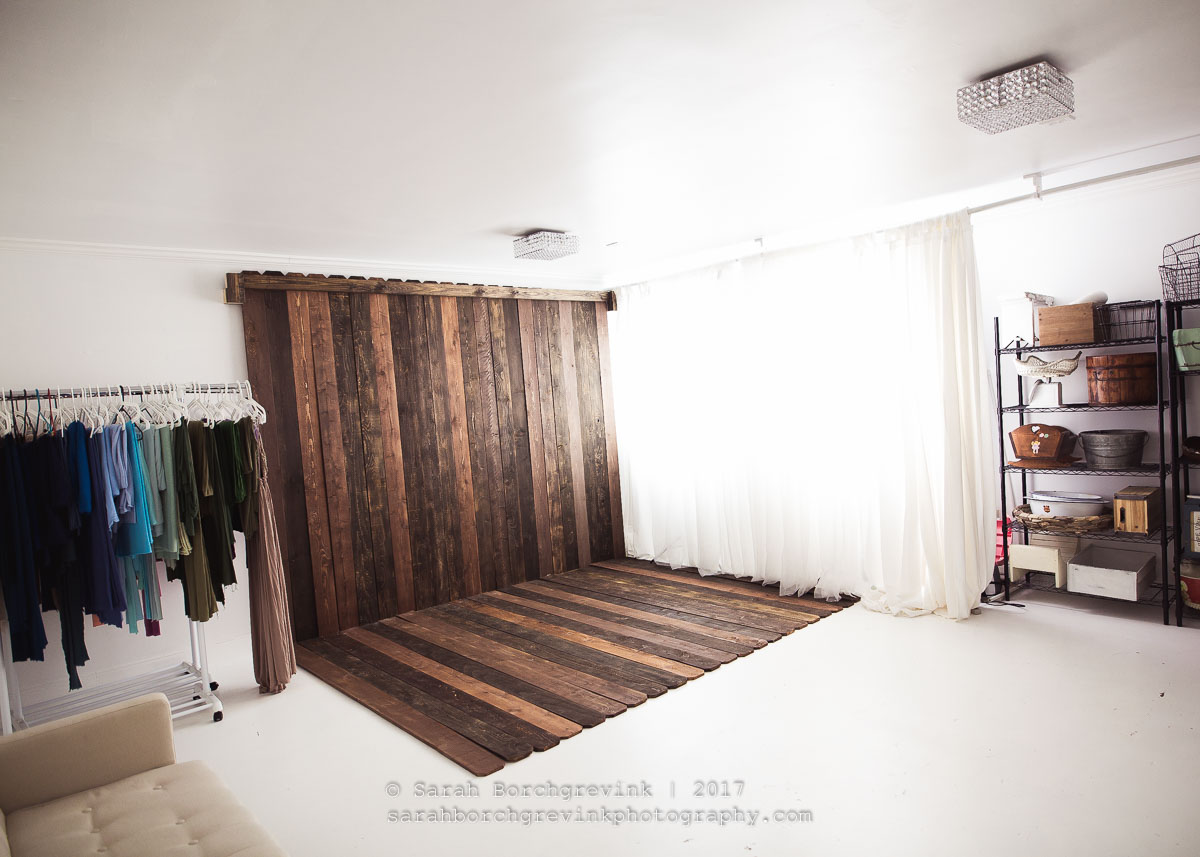
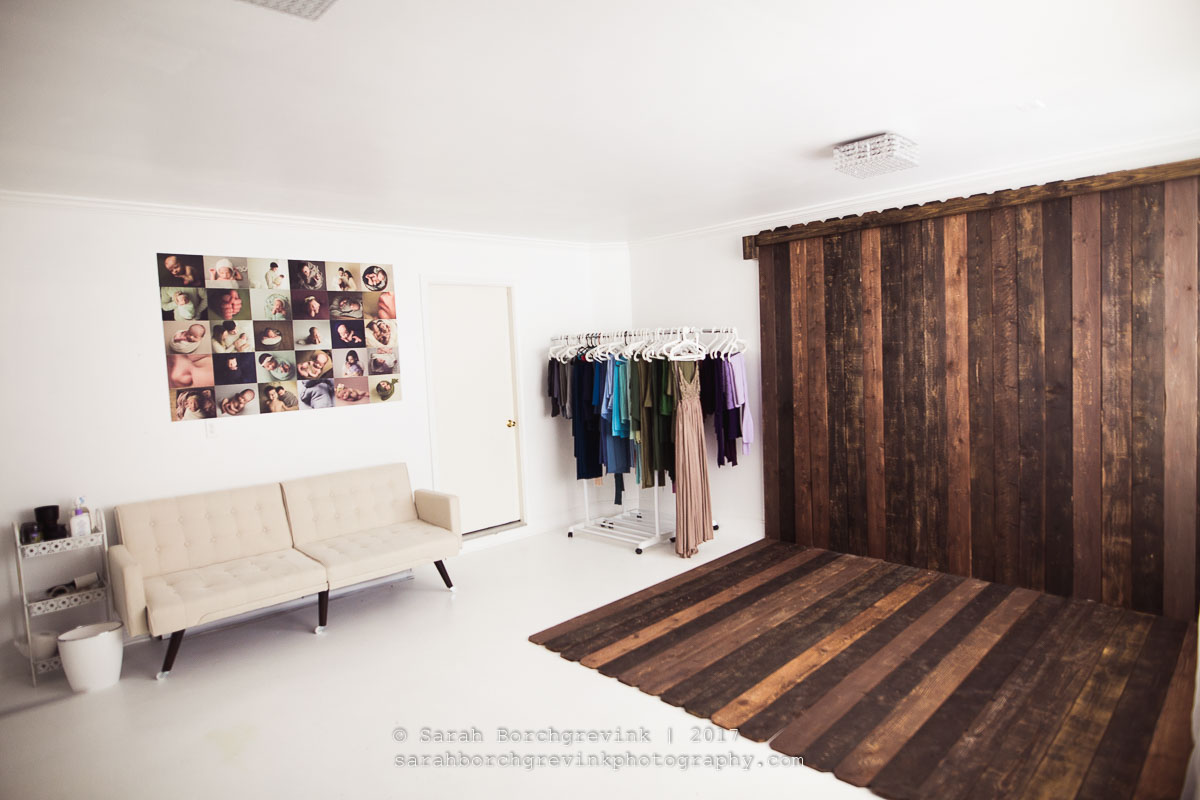
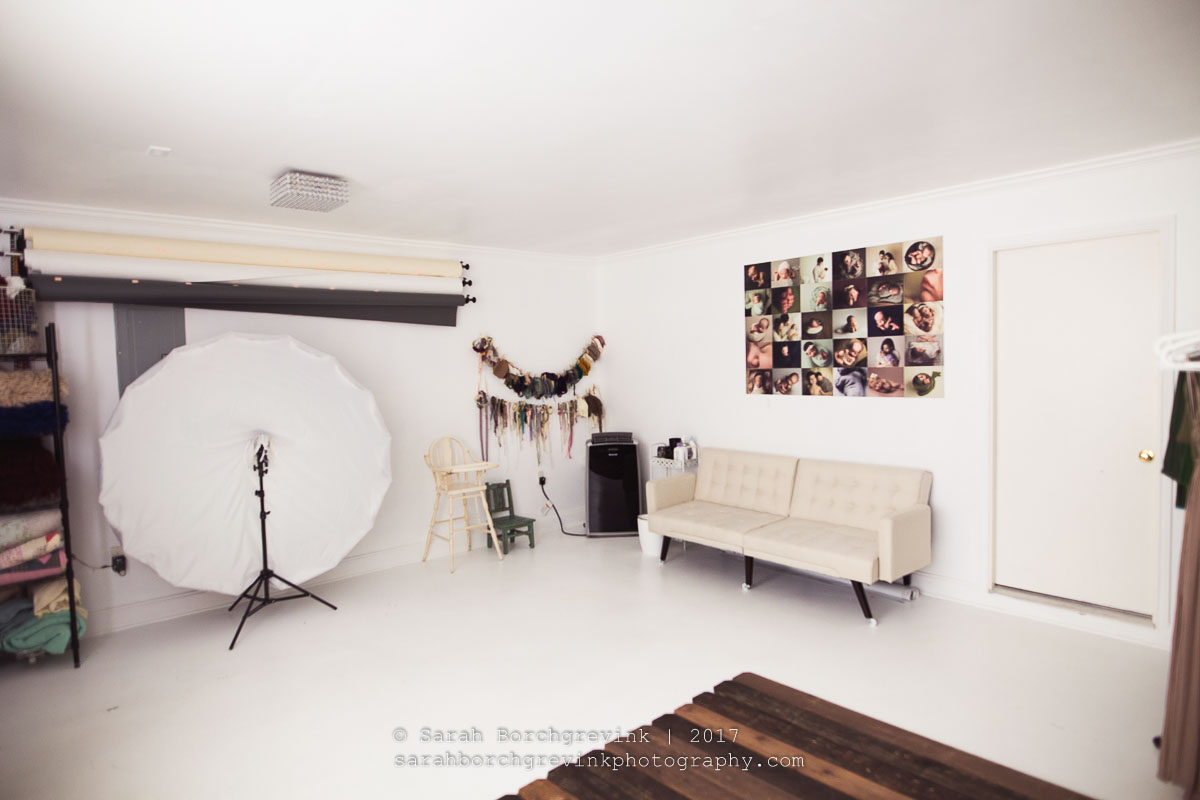
First things first: please allow me to introduce my studio to you. It's 400 square-feet over everything you need for adorable baby and newborn studio sessions from props, a huge wood wall, a plethora of prime lenses, and a huge array of hats, bonnets, head bands, and vintage inspired pieces.
However, many times clients are truly shocked to know there is absolutely zero natural light in my Houston Newborn Portrait studio. It's simply a dark room. In fact, artificial light is the only type of light source I use and over the years, I've learned how to create soft, diffused lighting during my newborn sessions in order to be super consitent and manipulate the light to suit my tastes and style.
A few reasons I enjoy using artificial light are:
I can take sessions any time of the day, no matter the weather. If there are clouds or stormy skies, there may not be enough light to shoot. Also, this allows me to work at night and accommodate clients travel and work schedules.
Consistency is very important when working as a professional newborn baby photographer. Clients must receive what they see on your website. Artificial light allows me to have the same lighting in all of my galleries.
Zero stress. Because I know how the light will look, I can also focus more on posing, wrapping, working with clients, and perhaps putting energy where I am needing to improve. I know the light will be nice no matter what I am doing.
Light is Light, no matter the source.
When I first began photographing newborns, full time, I thought I needed a huge natural light studio. While this is nice if you happen to have an unlimited budget, north/south facing windows, and many other factors, now that I've been working with artificial light, I would never switch over. Light is light, no matter the source. I don't even use an expensive or complex set up. I am currently using constant lighting, which means they're not strobes. They have several bulbs which are always on. It does make my studio a little bit warmer, but during newborn sessions I want the room to be 80 degrees so this is not a huge factor to me.
In my studio, I have 4 lights. They are inexpensive and I purchased everything from Amazon.
I purchased (2) sets of these at $164.95 and removed the softboxes so I could use bigger ones
I purchased (4) Black and Silver Reflective Parabolic Umbrella with Neutral White Diffusion Cover
I placed the PLM (references above) on the lights linked above and bam, instant lights.
In my studio, I have 20x20 feet of space, thus giving me 400 Square feet. It's just a big white room.
I had a 5" PVC Pipe installed across the ceiling and use these curtains to diffuse all of my light. The lights are behind the curtains at all times and diffuse the light to create soft images, shown below. I purchased about 30 pairs of these inexpensive, Ikea curtains.
When I am not working, the lights are off and it's pitch black, as there is not a single window in my studio space.
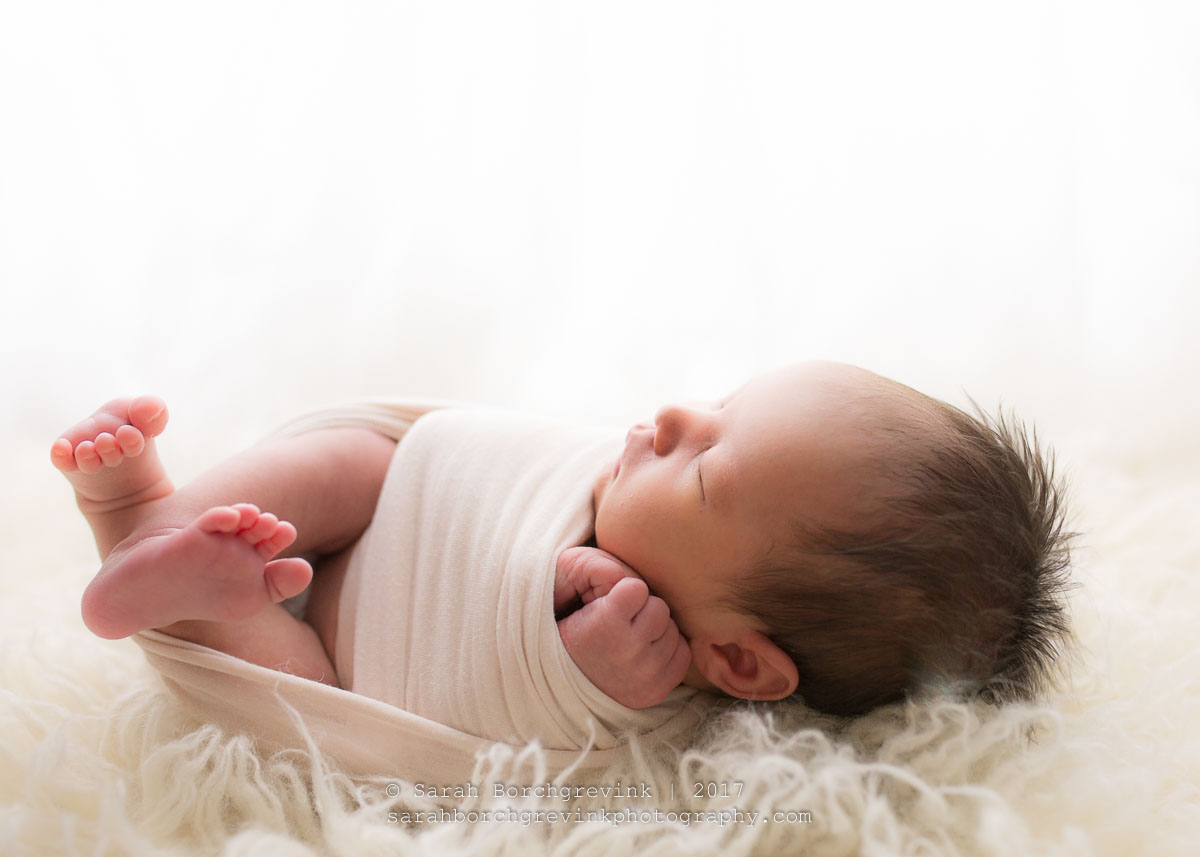
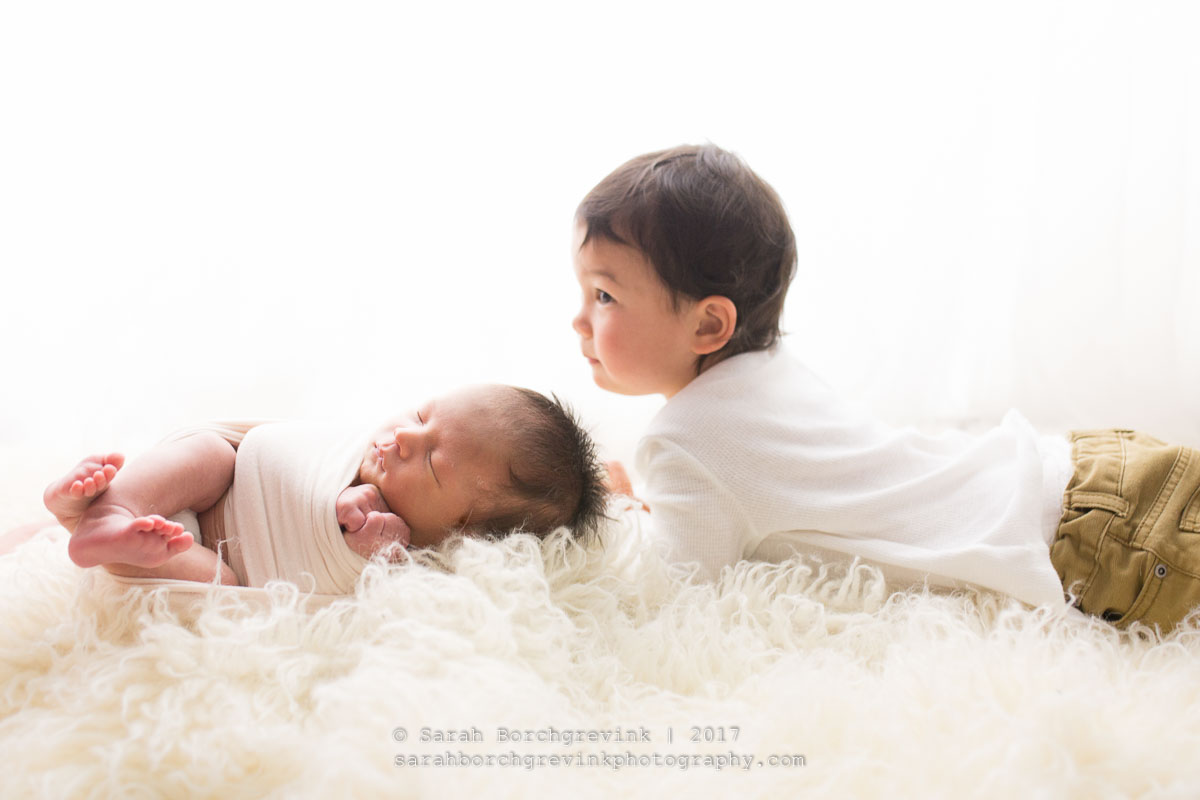
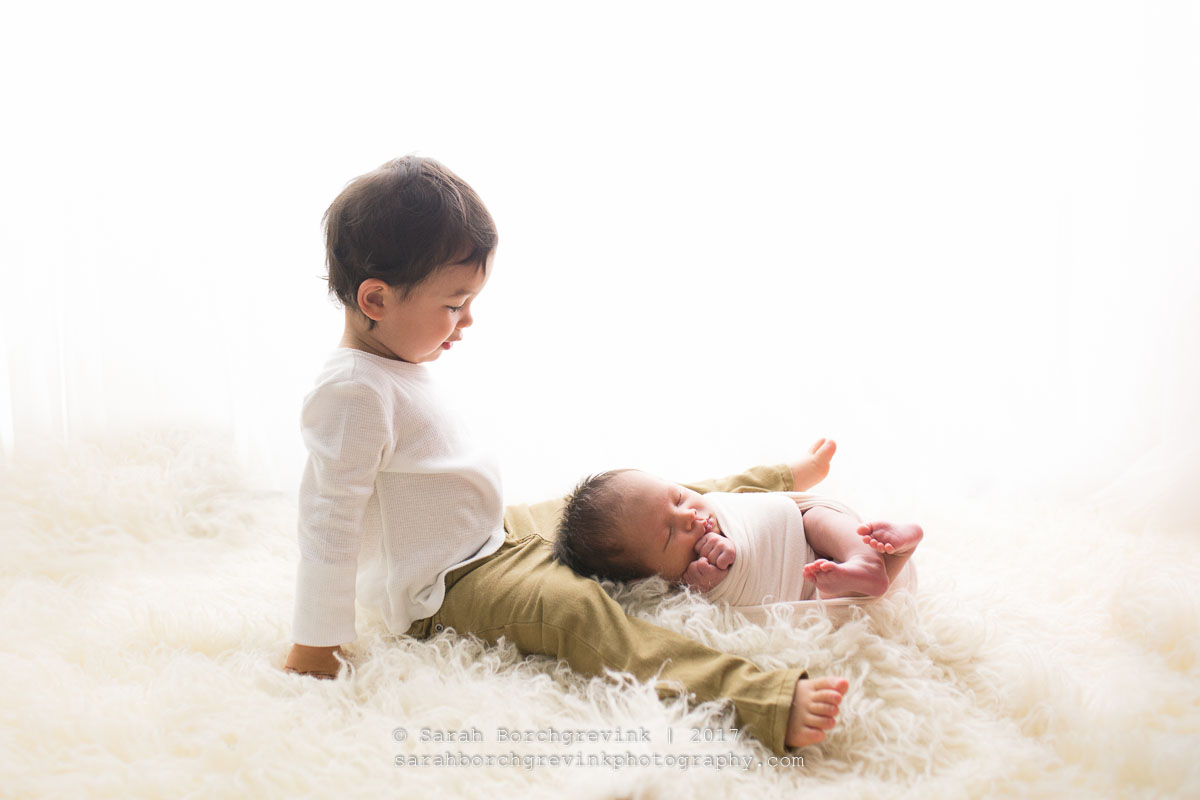
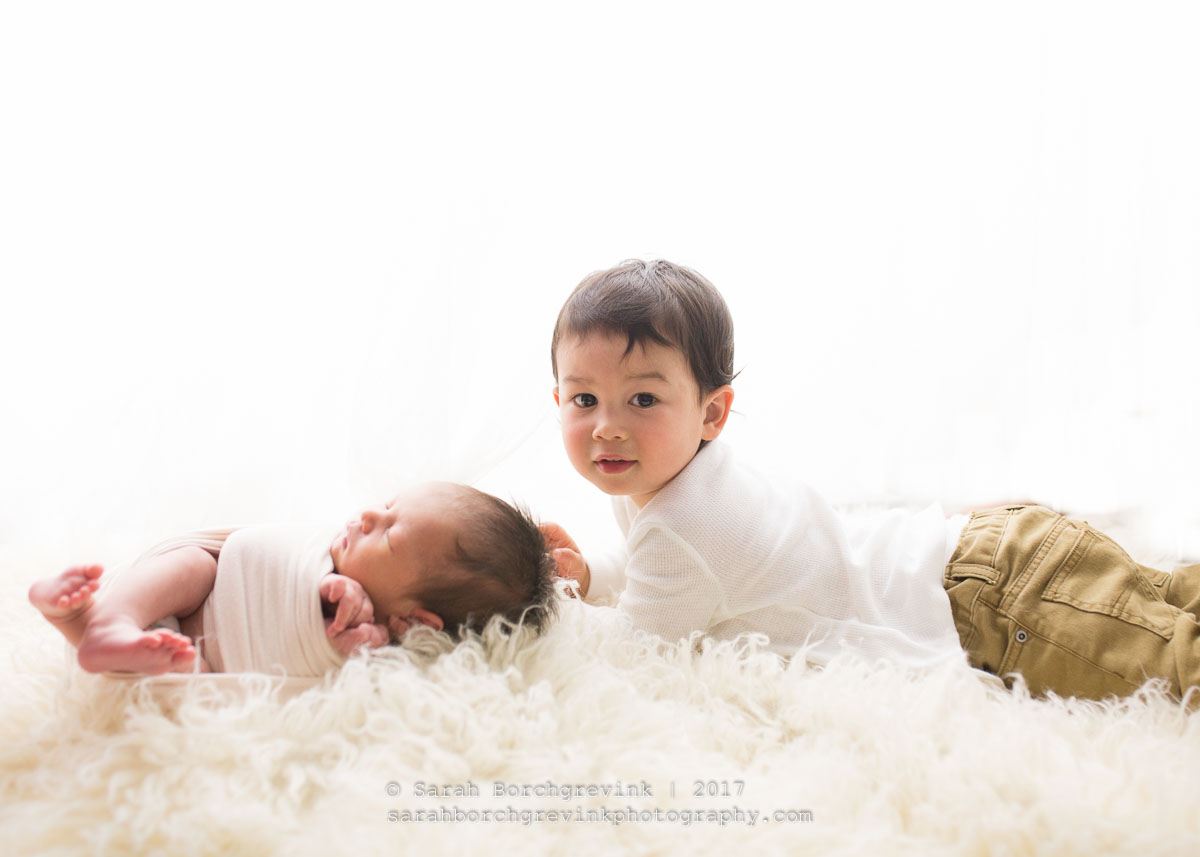
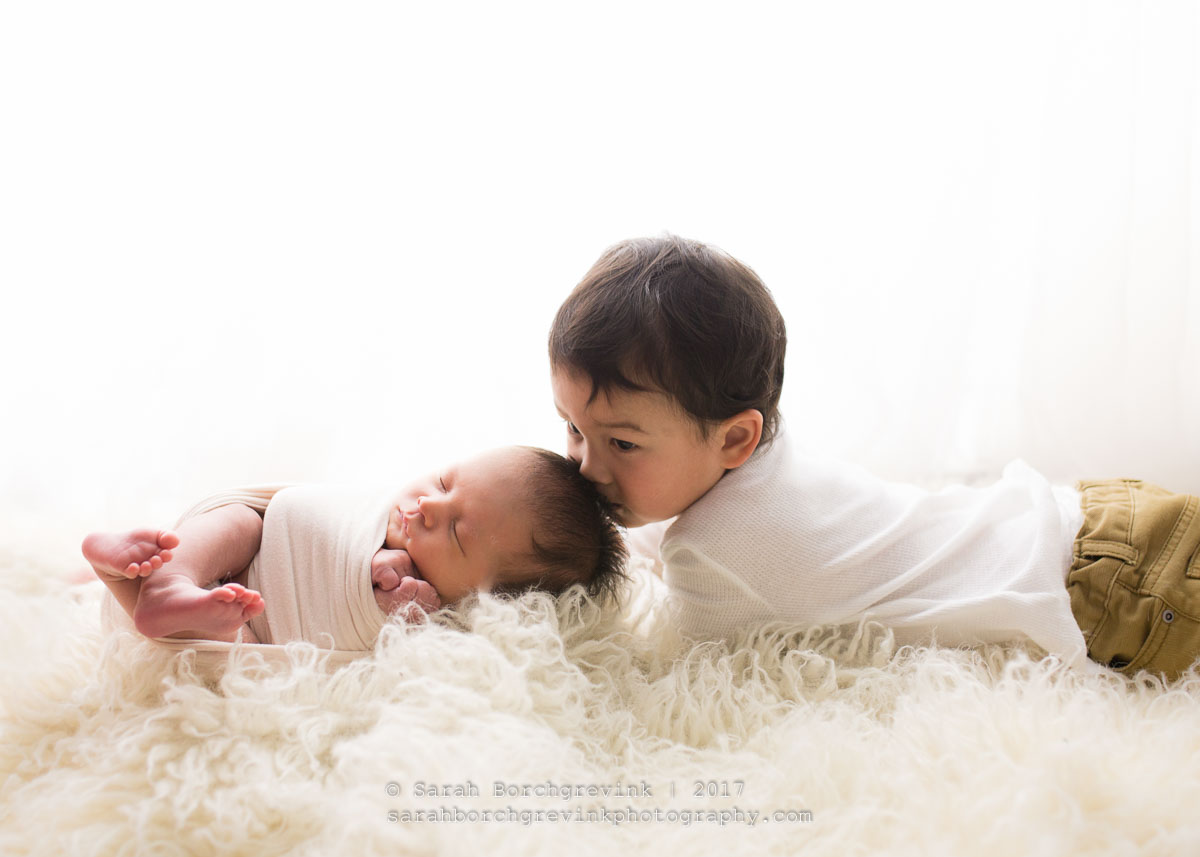
How to set up artificial light for back lit sibling portraits
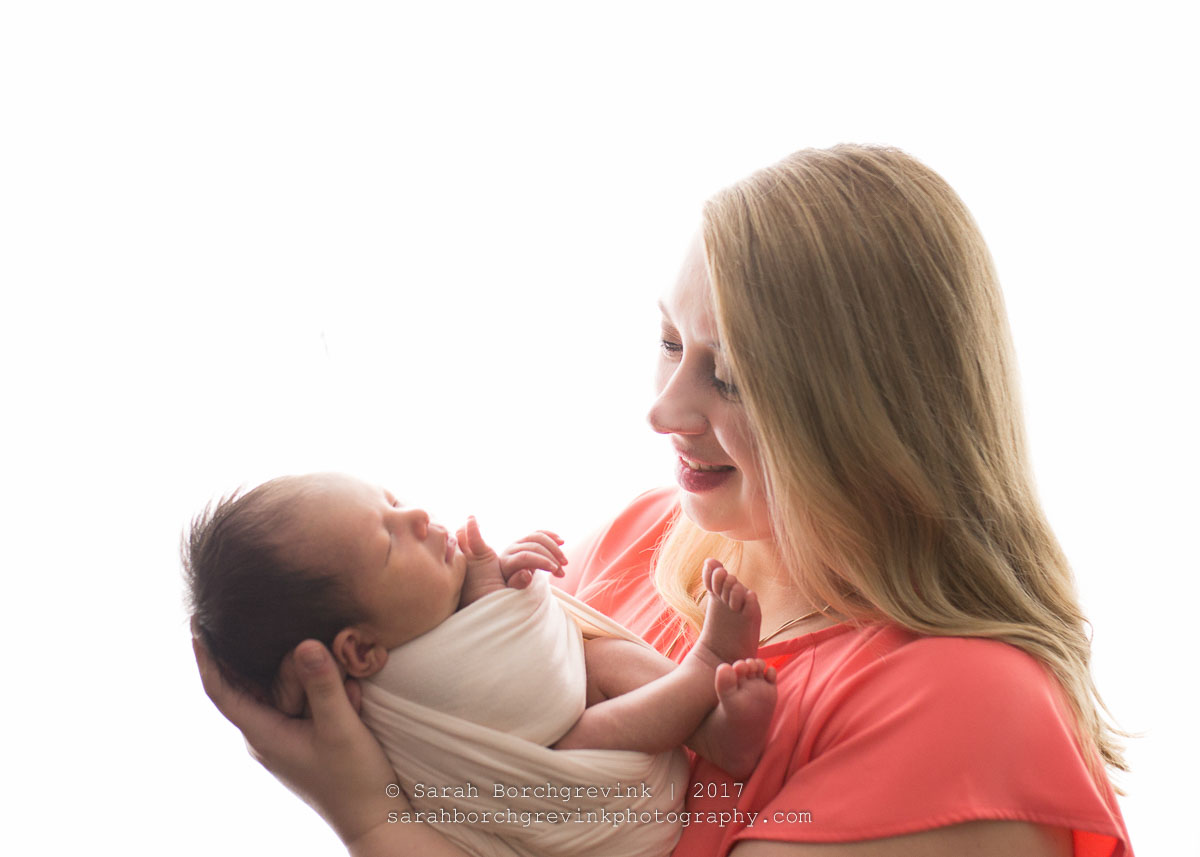
Sibling photos are often requested by parents. I have three little girls so understand completely how precious it is to see your babies together! As a mama, it makes my heart sing to have photos of my own kiddos taken, so believe me: I want these images to be magical! Back-lit family or sibling images are my favorite to do during your newborn sessions.
To set up artificial lights so they look like natural light is very simple:
Make sure your lighting set up is diffused behind curtains, like the sheers I linked above. This will mimic windows, thus resulting in a natural light look.
Lower lights via your stand so they're close to the ground. Child will be sitting on the ground.
Place whatever type of rug underneath child, in this case, a white flokati rug I have.
Photograph little one and encourage them to interact/pose newborn however suits your taste. Since this blog post is about lighting I won't bother you with how I wrap newborns for their sessions, but we'll talk about that next month I'm sure, ha! For now, let's stick to lighting.
When working within my studio, I use professional grade equipment, so the settings I am going to list are based off the type of equipment I use such as (2) Canon Mark iii bodies, a professional grade 50 mm lens, 35 mm lens, 24 mm lens, and 20 mm lens, plus a 100 mm macro lens.
For these particular shots, my settings are typically 1/200 (to allow light in), f/2.0 (with the focus point on baby's face), and then ISO 1/800. This is with 2-3 lights, depending on how large I want my set up to be.
Then I raise my lights again when I move to family or parent images, but use the same settings of course. That way the background is blown completely out and when we get into processing, there is very little work to do on the actual image.
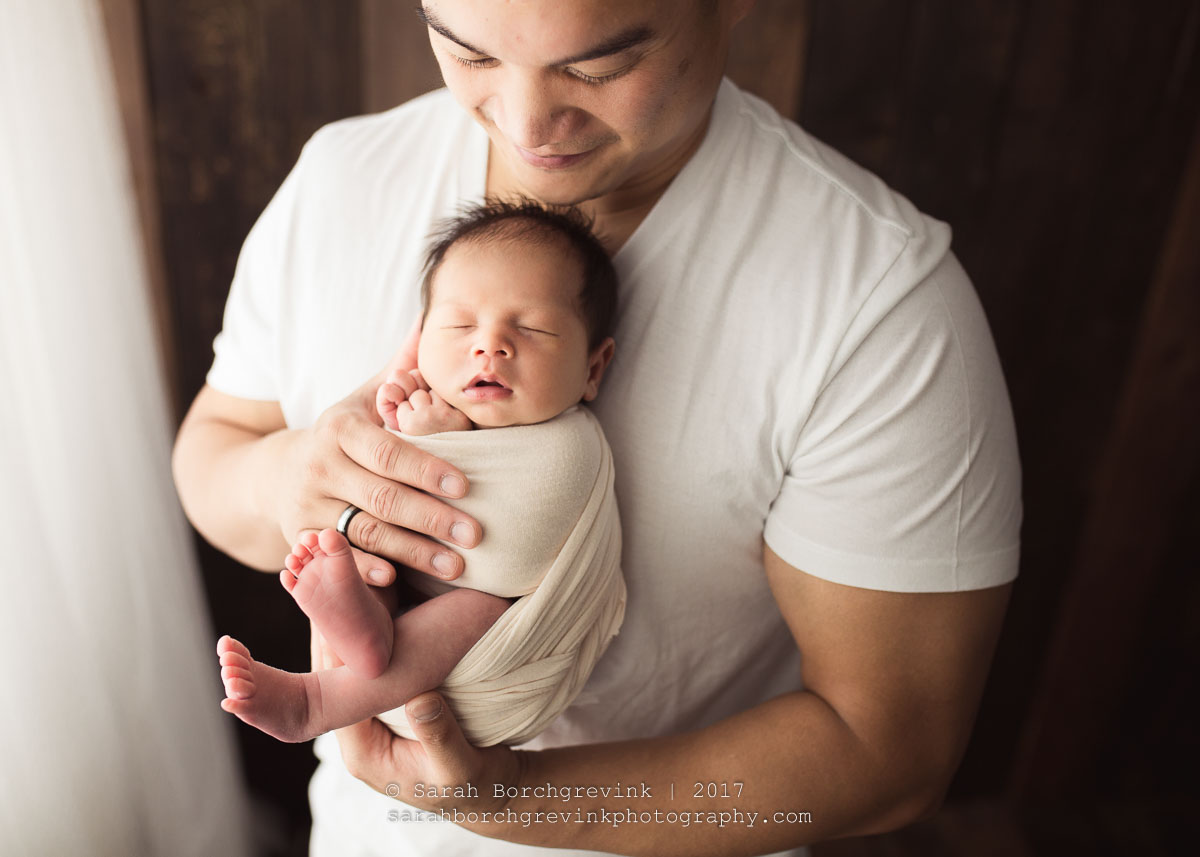
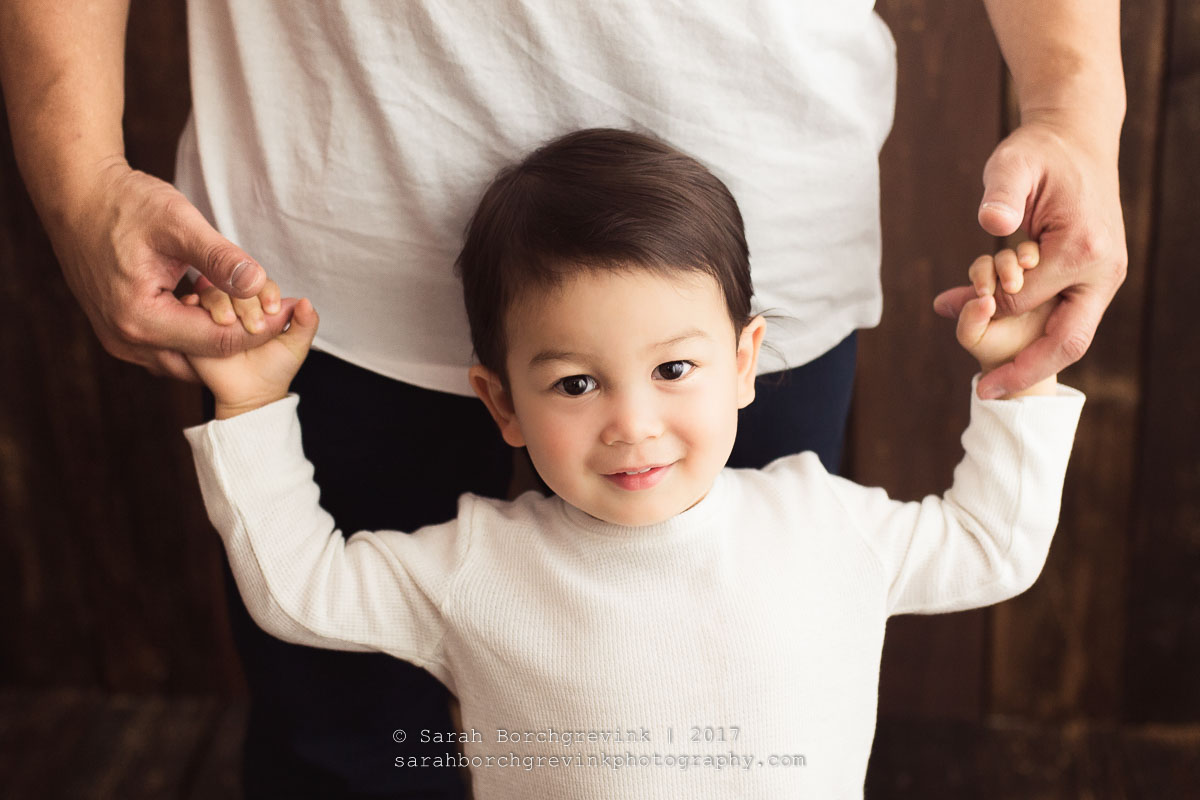
For side-lit images, my settings are a little different. As you can see from the photos below, the curtains are still there diffusing the light, but the subject is standing perpendicular to the light set up. My subject is always around 3-4 feet from the actual light.
These sets up are typically photographed at ISO 400, F/2.5 and shutter speed of 1/160.
And that's it! Creating a natural light look through the use of constant lighting kits does not have to expensive or difficult. I hope you enjoyed reading a little bit of my creative process and how I set up for your newborn sessions! If you're a photographer, feel free to let me know how these worked for you, too!


